Wednesday, August 21, 2013

Its Been Awhile

I don't think I have ever had a week between blog posts the whole time I have been blogging about my build.  It is not that we have been idle, it is just that I have been a bit slack in posting

The tiles were finished two weeks ago. In the end it took 3 weeks and 2 days to tile.  At the time it felt like an eternity and I really was looking forward to not having any workman in my house.  Mat was also fed up with the tiling and said next time we will wait until the tiles are finished before we move into the house.  Even though it was a bit of pain while it was happening, I still think he would rather save the money on rent. 

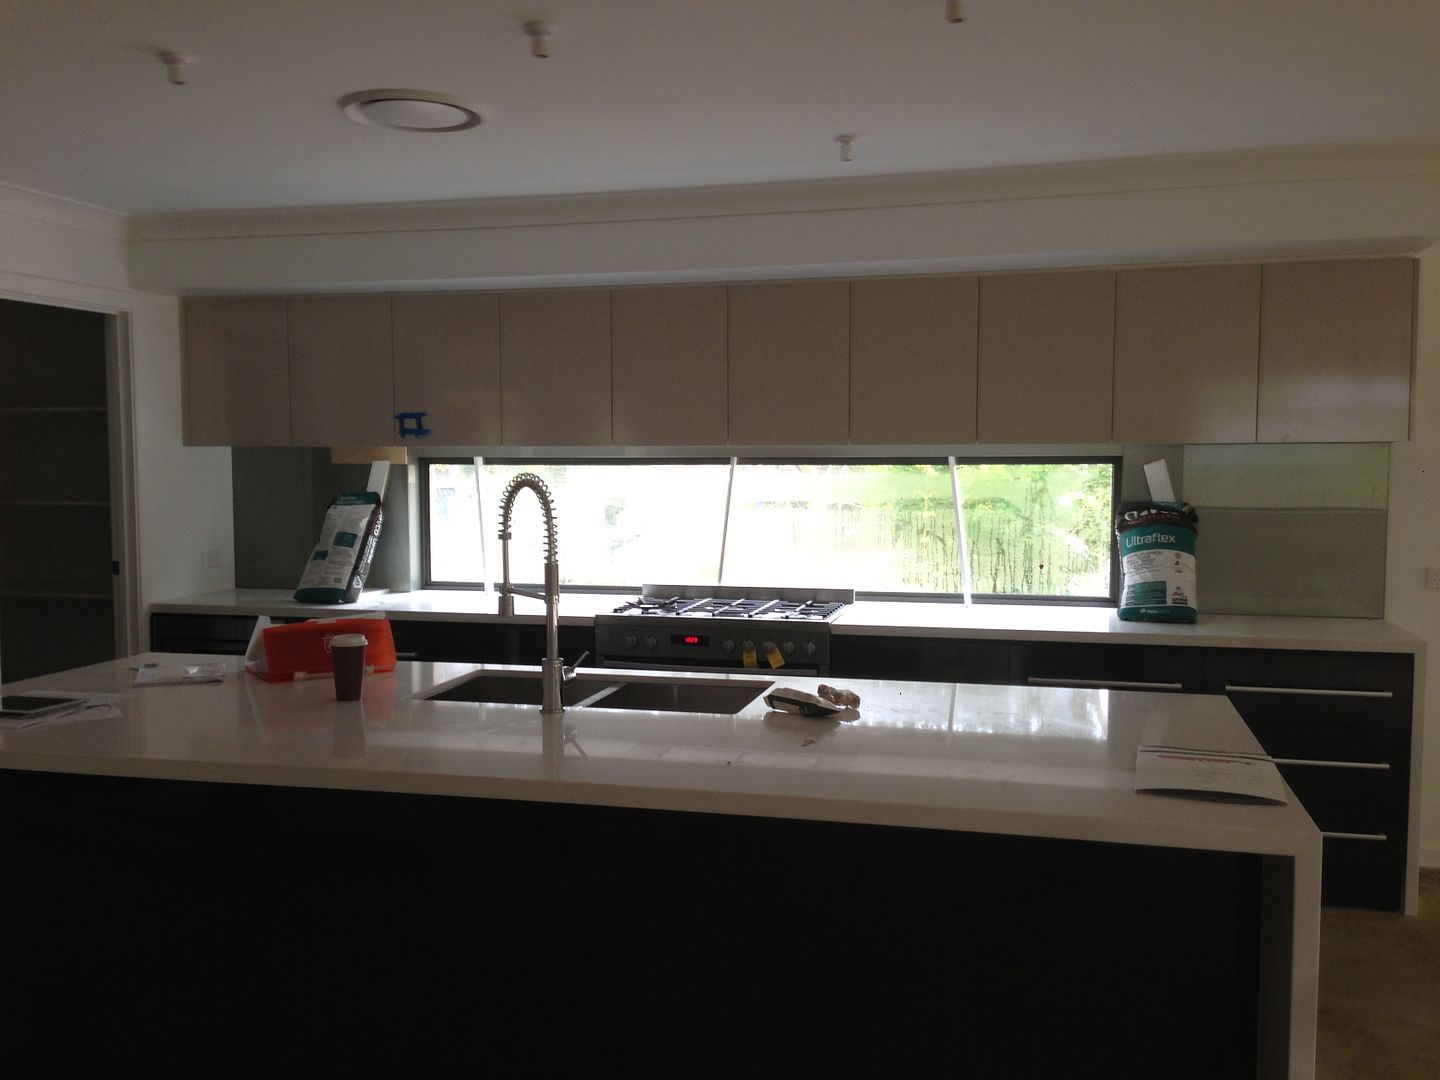
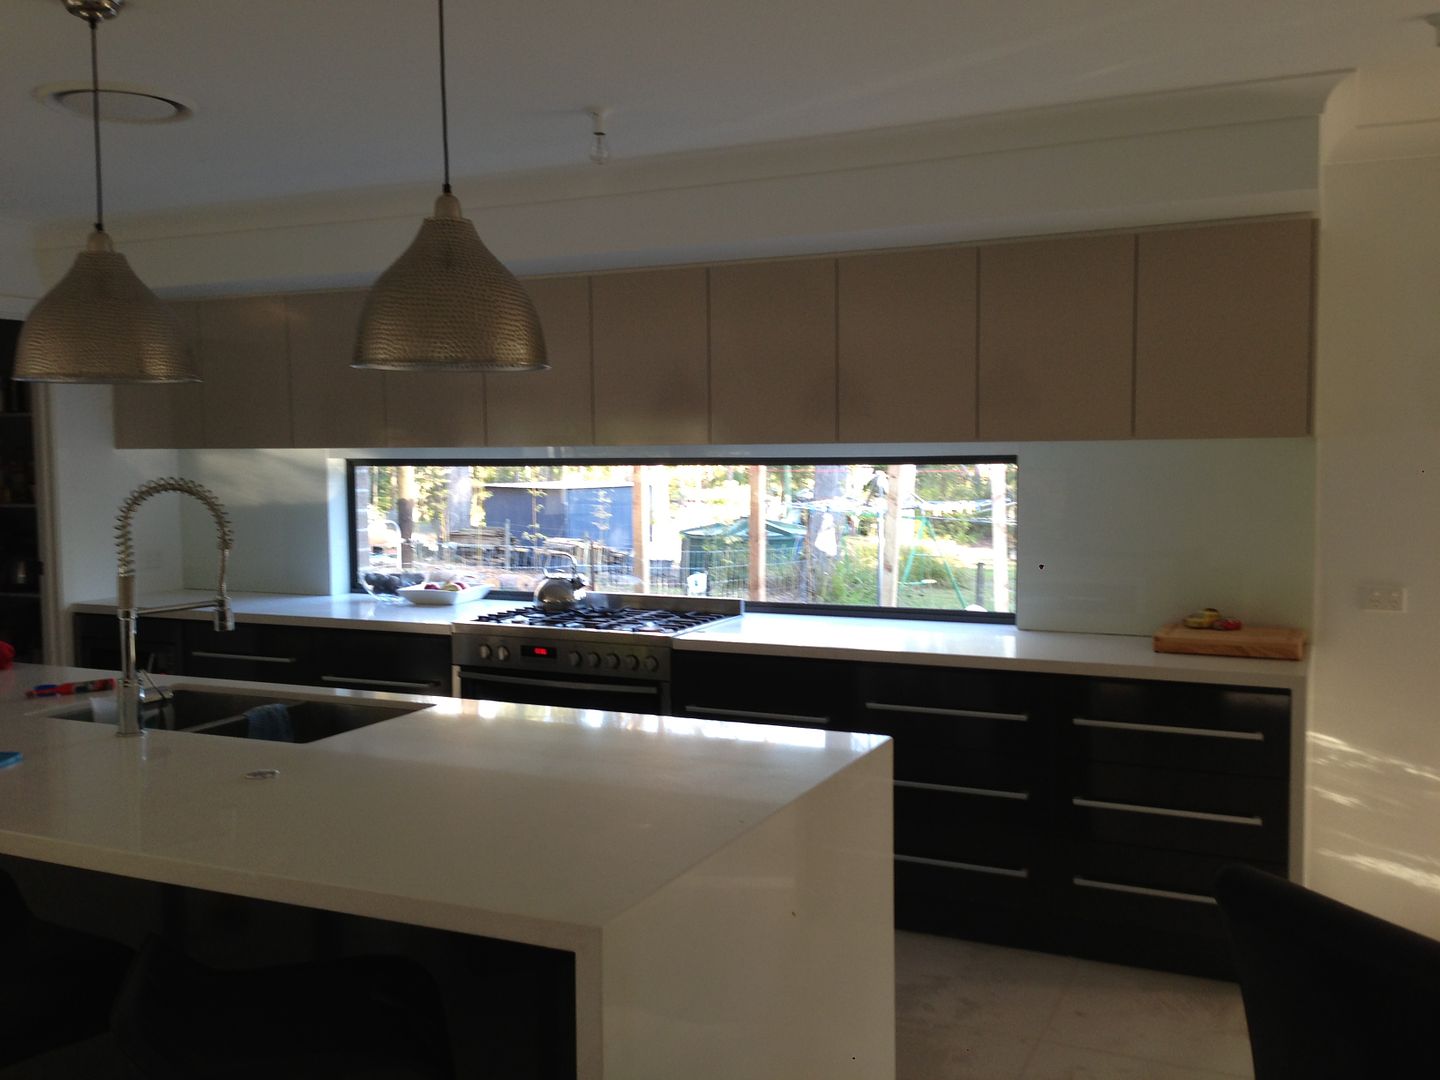
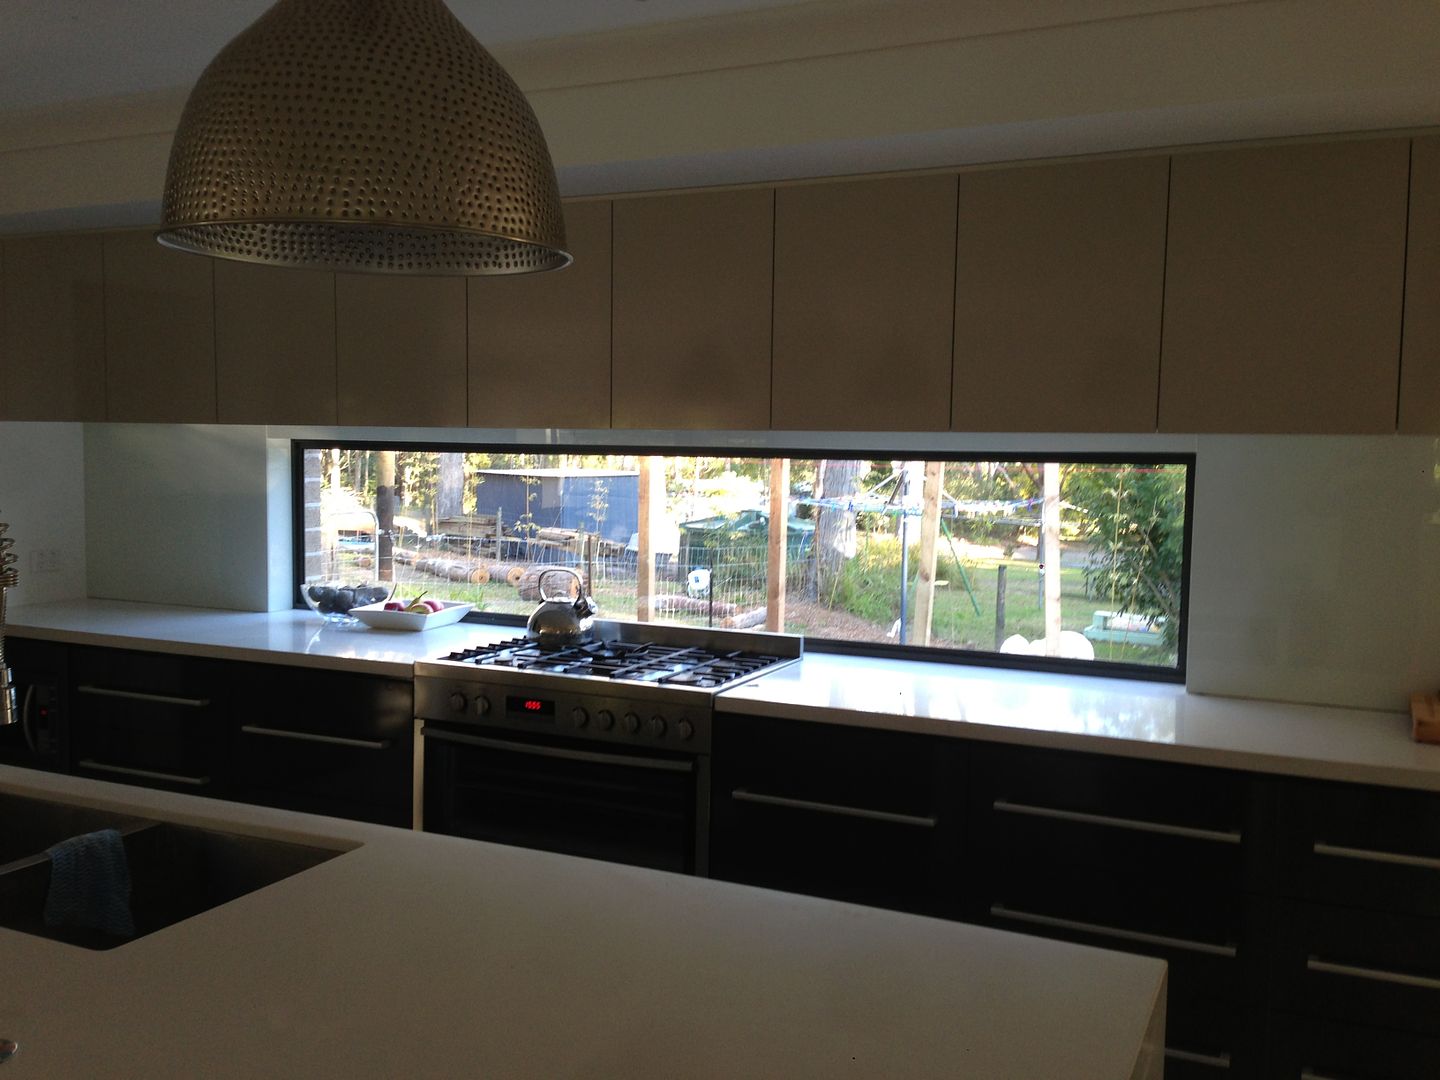
So without further ado - here are some of the pictures with the tiles completed


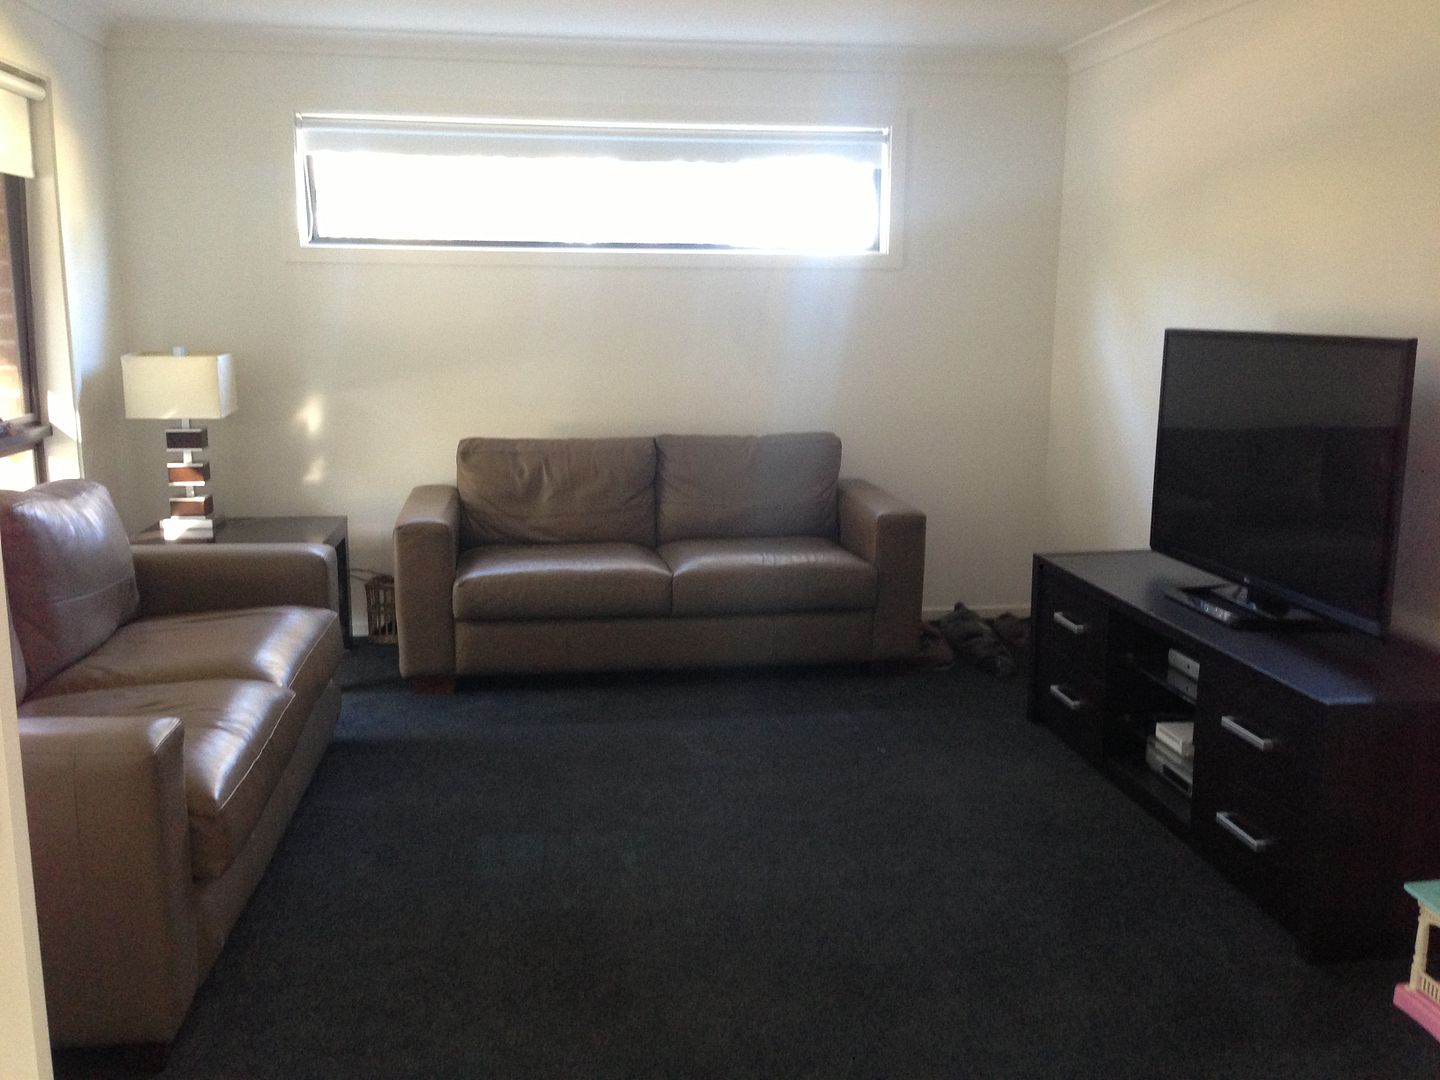
Home theatre - this still needs to be painted dark.


Spare bedroom.  The mirror in the foreground of the photo this needs to be hung on the wall near the dining room table.  The bed, it needs some linen. We need some bedside lamps and then we are done. 


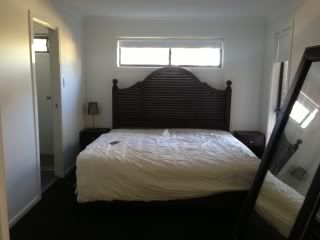
Do you like the size of the bed????  It is a super king - so it is 205cm x 205cm.  Yep it is big and I think our guests will love staying with a bed that size.  The bed, it was a bargain!  Everyday Living was closing down and I happened to be there on their second last day.  I bought our bed for the bargain price of $400 and then next day when we went back to pick up the best they were knocking out the last of the beds, so what was I to do, buy two more of course.  This bed frame retailed for over $2,000 and guess how much I paid for it........ $40.00!!!!  Yes, you did read it correctly, it was only $40.00!

The study - it is empty in this picture, but it has a desk in it now.   The tiles are still a bit flat in the picture as they have a film on them that you need to buff off.


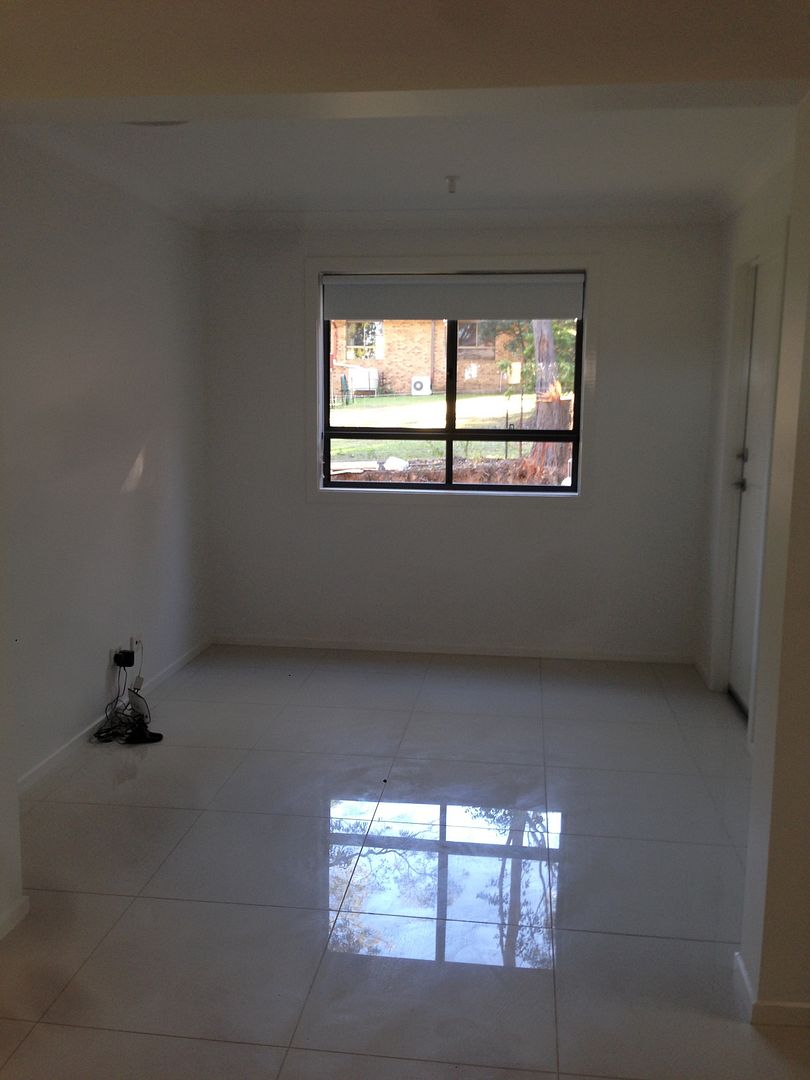
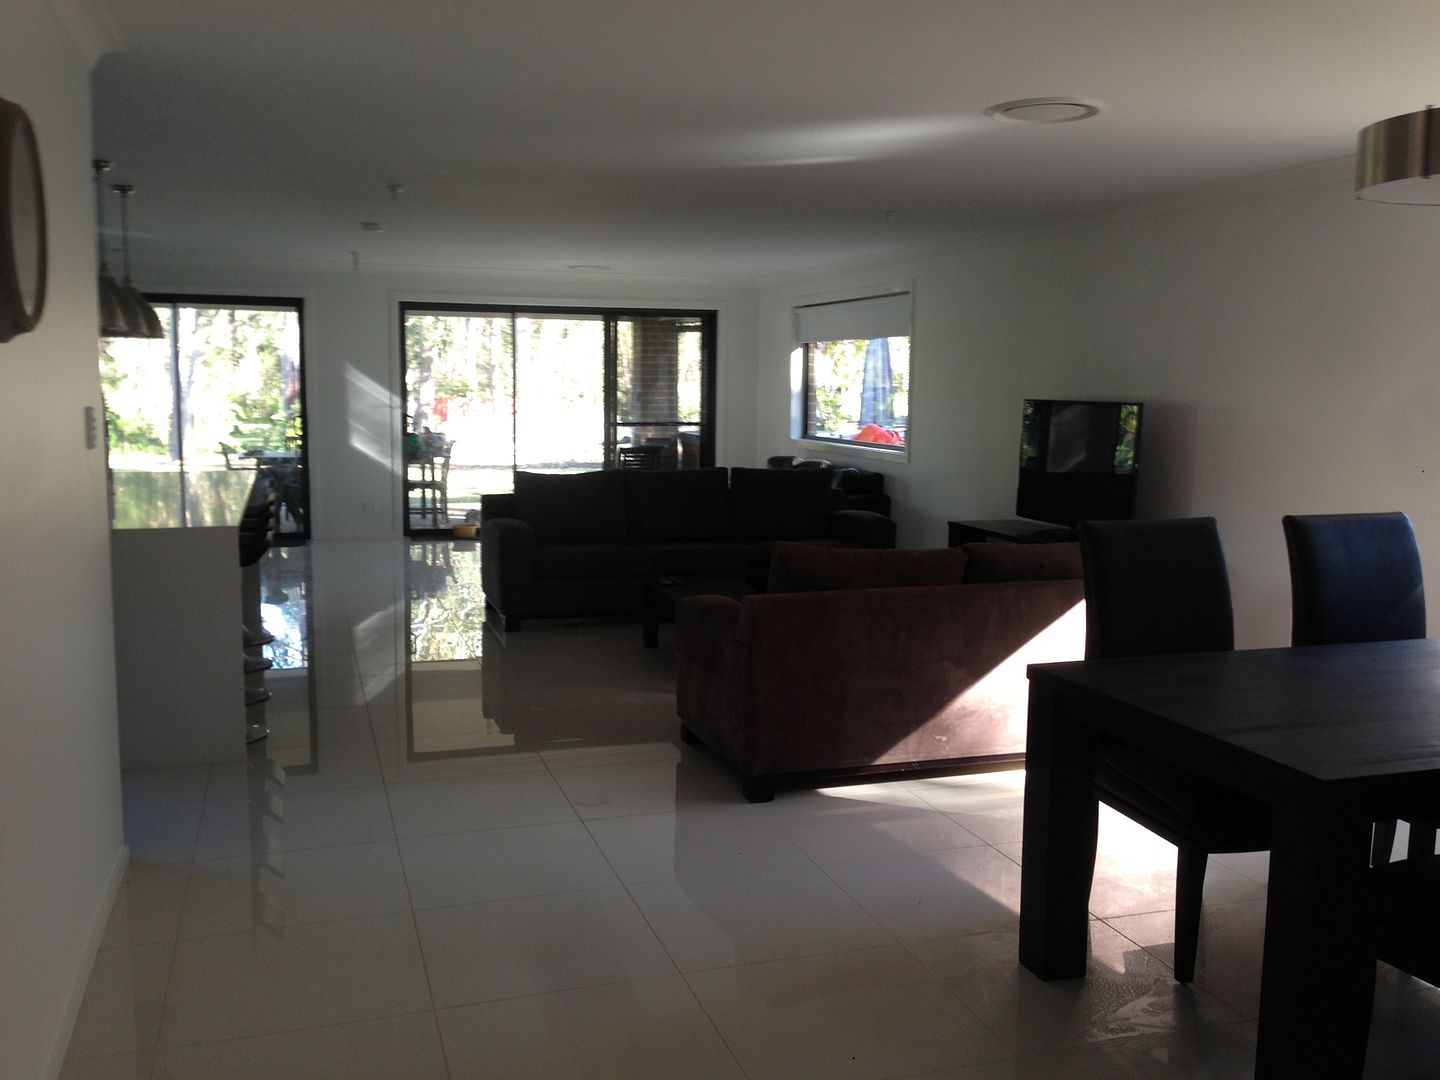
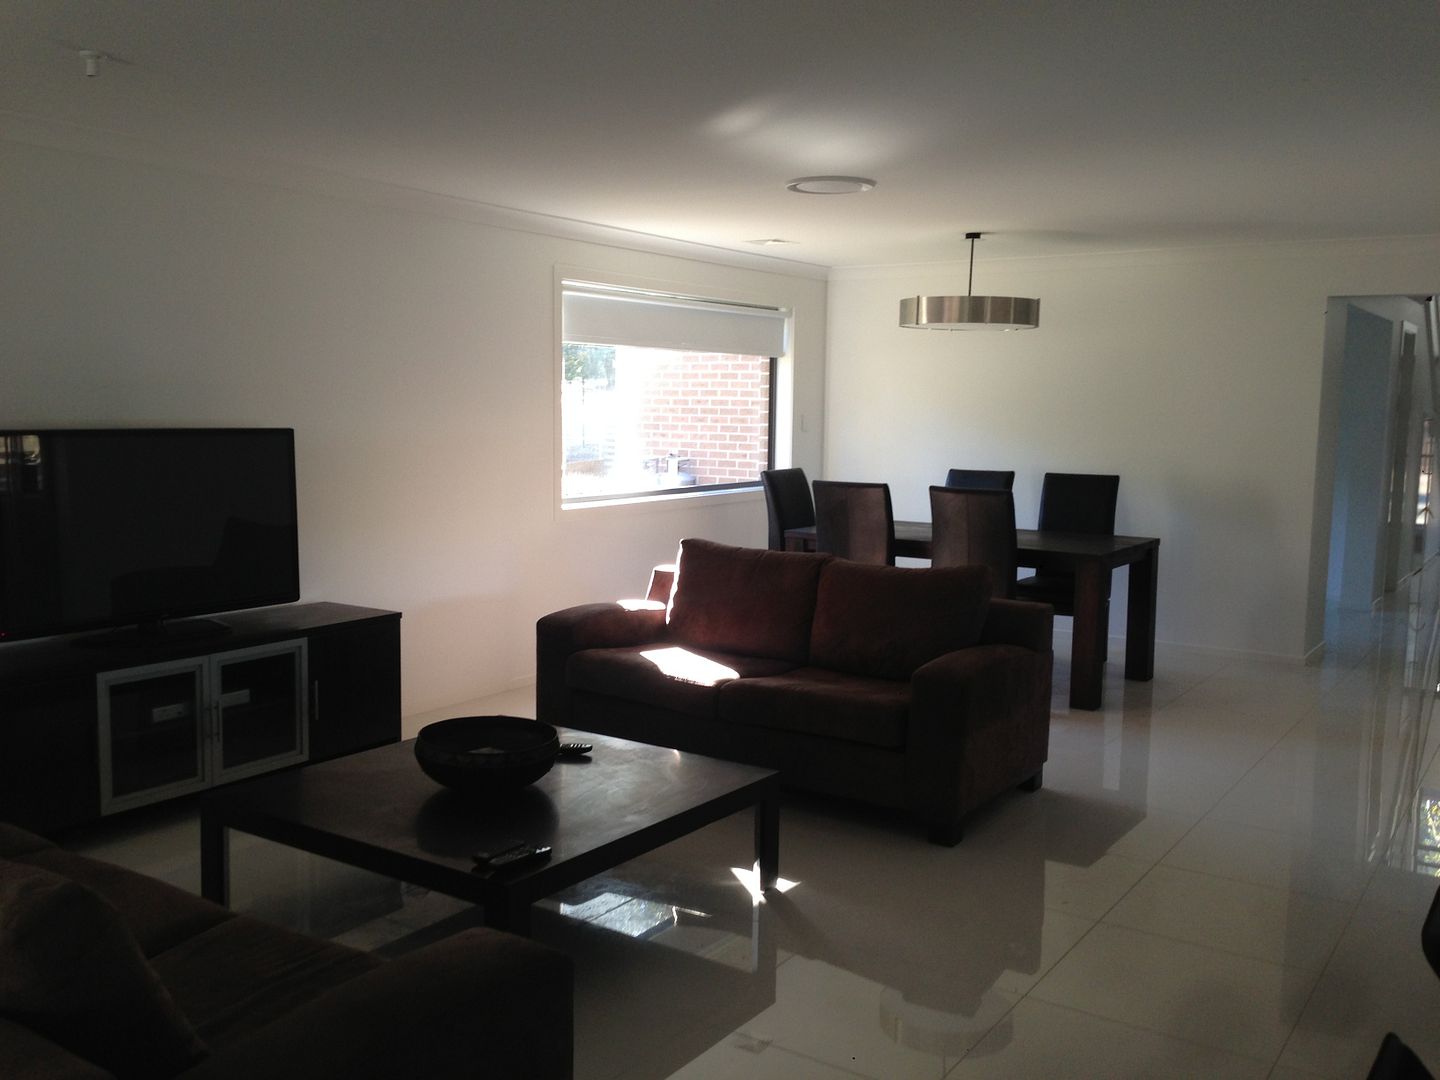
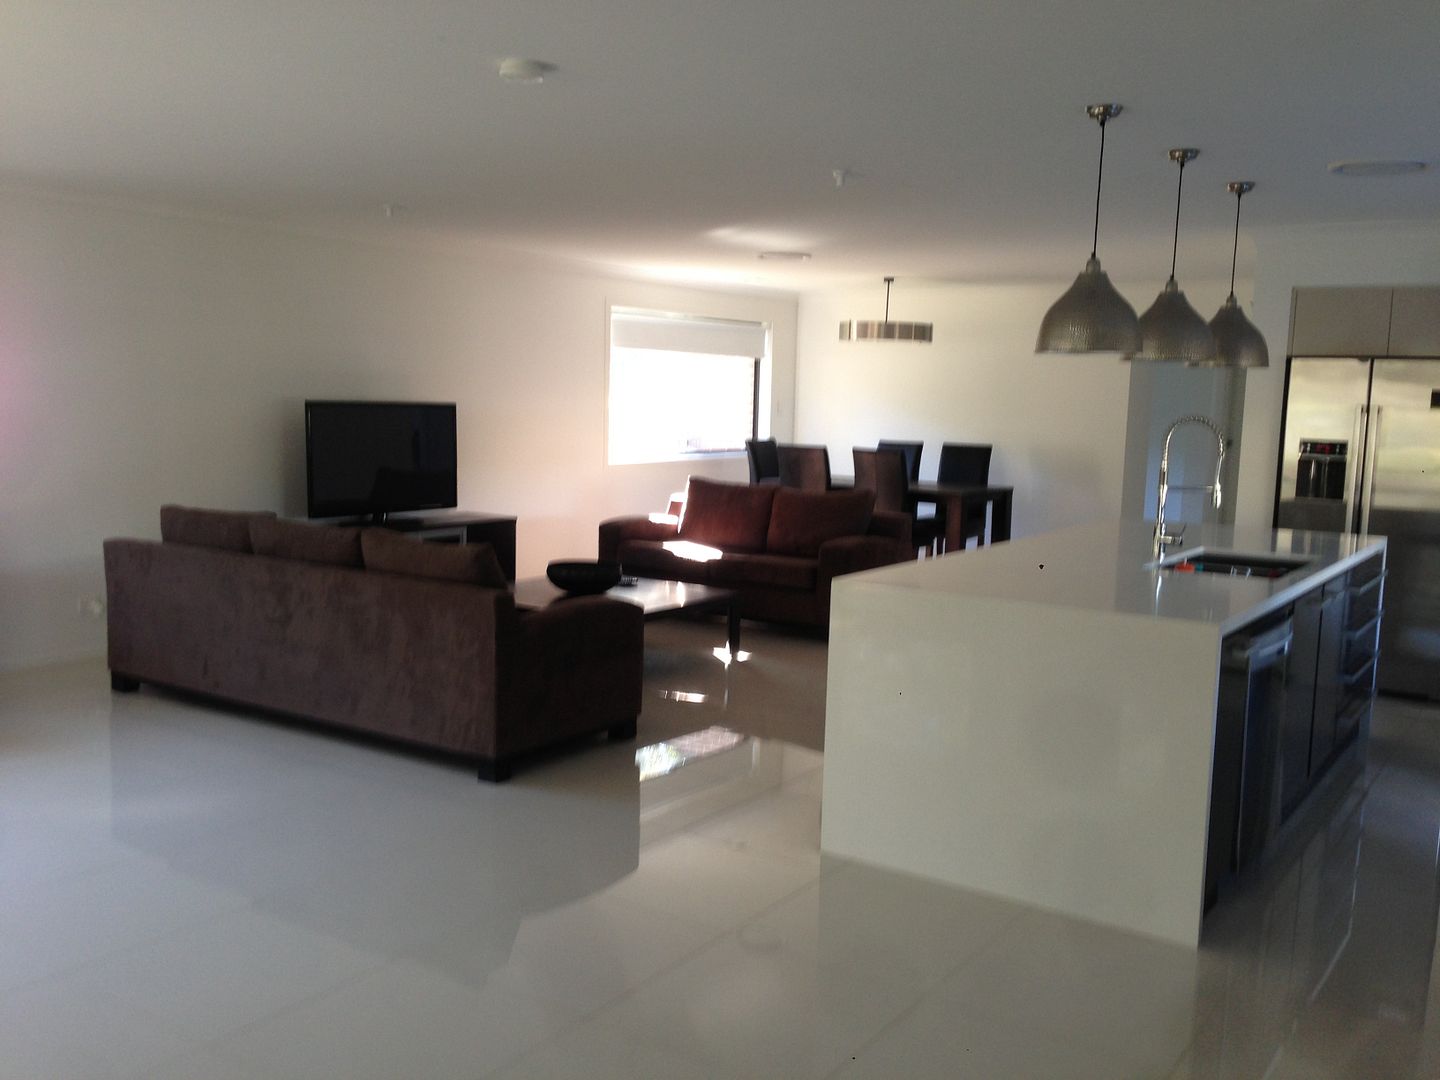
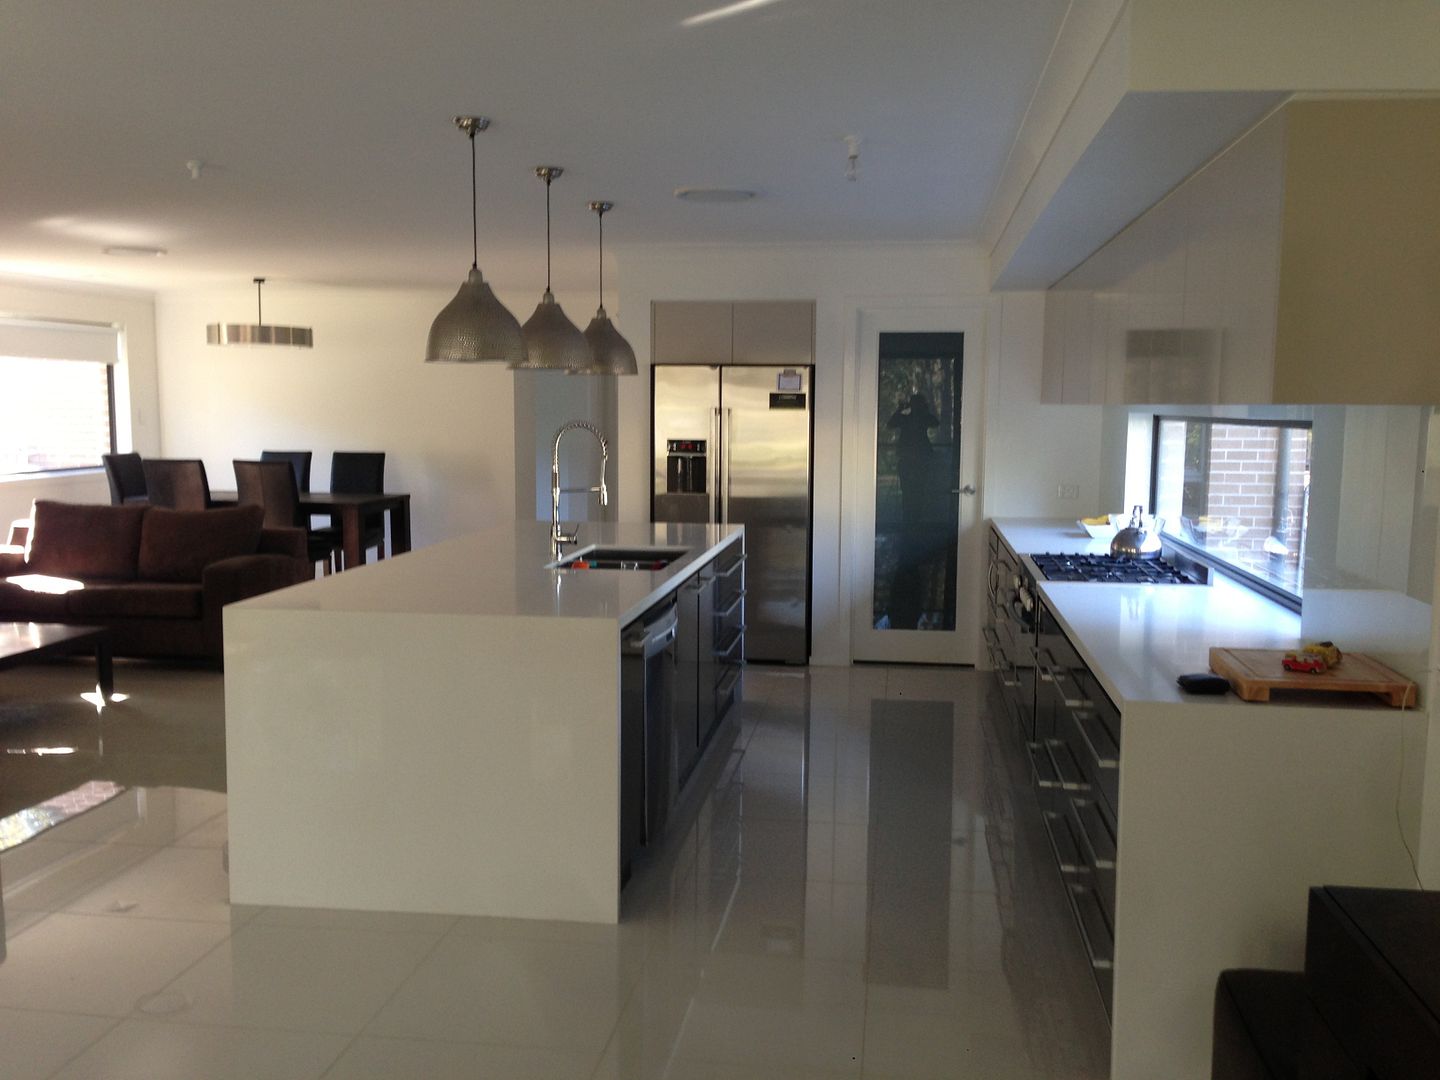
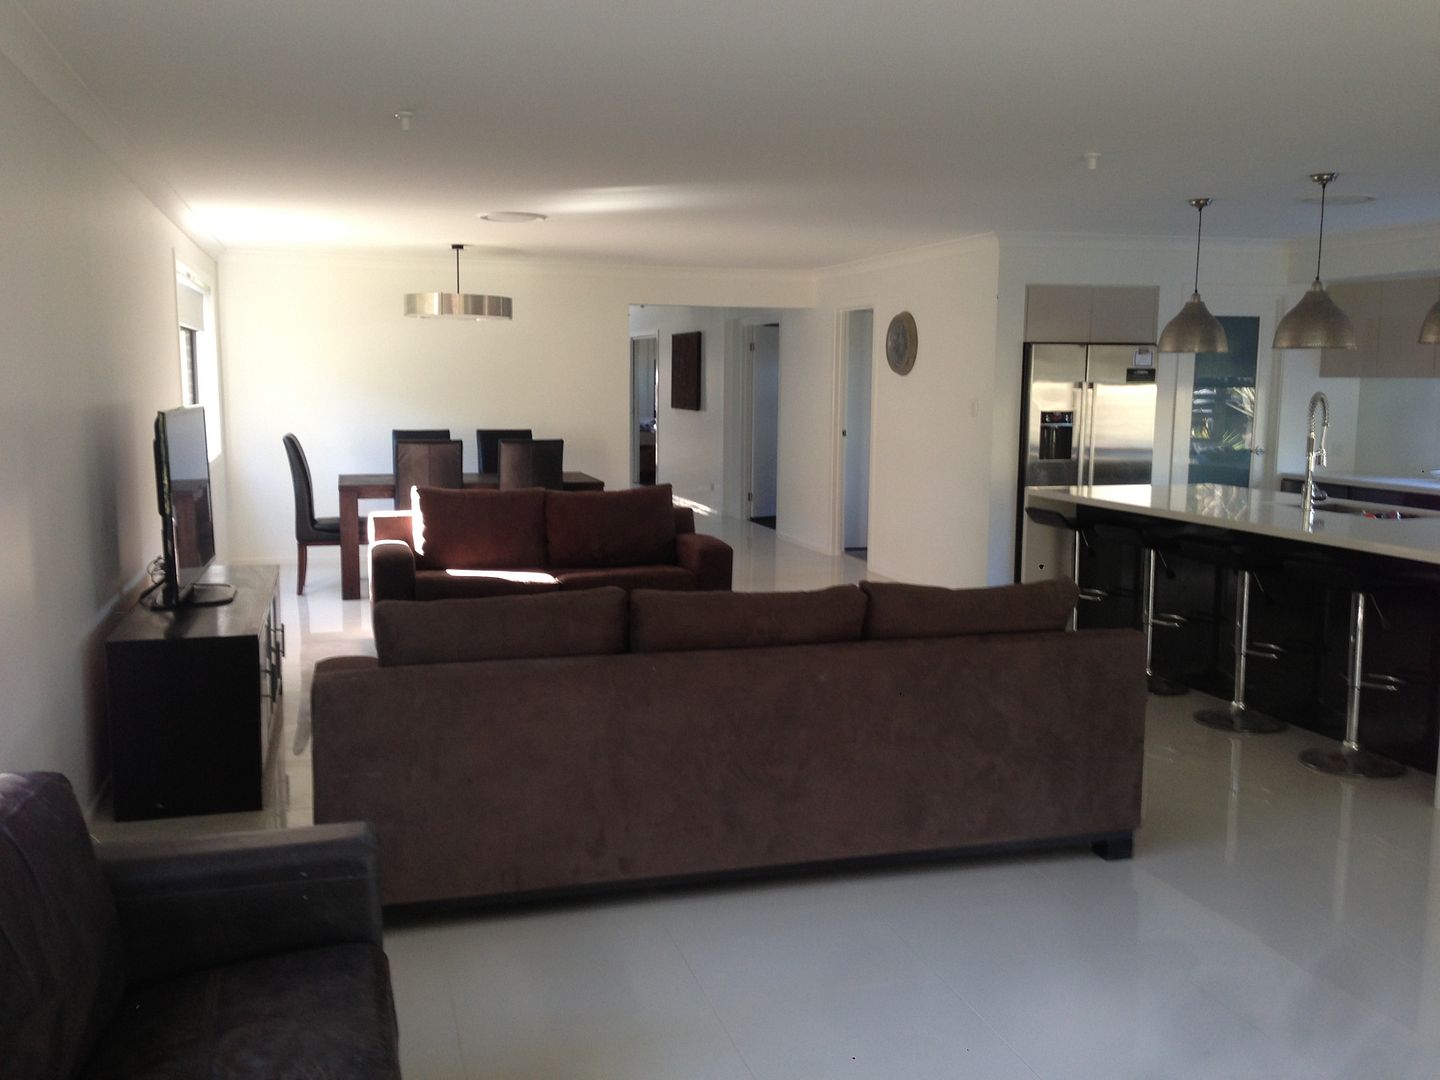
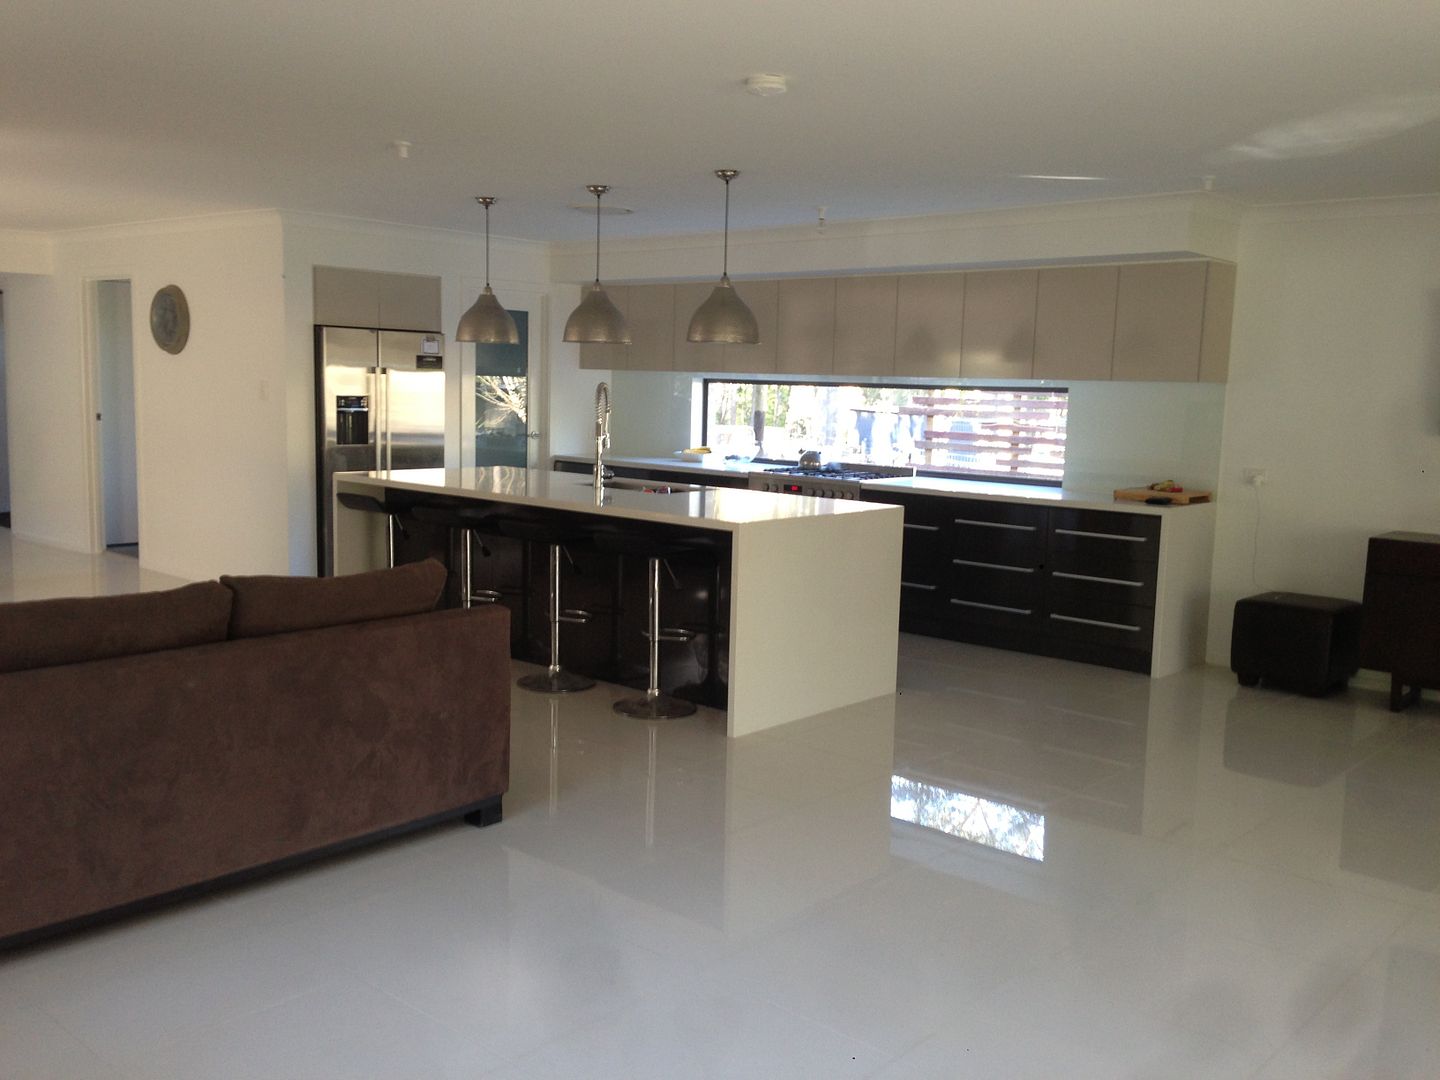
 I love my white tiles.  What do you think?????

Wednesday, August 14, 2013

Turf - Weekend 1


We need a lot of turf - when I say a lot, I mean a lot, probably about 2000m2!!!  Yes I know for most people with a normal block this sounds like a silly amount, but for us, with the block being just over 4,000m2, 2000m2 of turf wont even cover half.

On the weekend we started our turfing marathon. This turfing will last for weeks as we intend to do 100m2 a week to keep the costs manageable, and to keep the watering manageable.

Earlier in the week I ordered 200m2 - I thought we would get off to a good start with a decent amount.  We always go and pick up our turf straight from the farm.  It is more cost effective that way - we save $1.00 per roll - doesn't sound like much, but over the 2,000 rolls we need, it starts to add up.  Plus another good thing about getting it straight from the turf farm it is freshly cut that morning, so it is laid within a couple of hours of being cut.

The only downside to picking it up from the turf farm - we have to literally pick it up where it has been cut in the paddock and oh my goodness those turf rolls are heavy.

Saturday we started with 100 rolls

50 rolls

Another 50 rolls


Before turfing


After


Sunday  another 100 rolls from the farm.  

The side of the house before turfing


After


What do you think??? I love it. Can't wait to put some more down next weekend. 

Monday, August 12, 2013

Earth Works

Remember when the bobcat got bogged in the backyard. I swear it hasn't stopped raining since then and the mud out the back of the house has been getting worse.   Everyone that comes to the house makes the same comment "you have your work cut out for you with this block"  I don't tend to take too much notice now and reply "ït is nothing that a bit of turf can't cover"

Two weeks ago when I was at work my boss (who has also just built a house) asked if I wanted some of his fill.  My block is all clay, but his block (3/4 of an acre) is lovely black soil, so after taking a quick look that it was devoid of clay matter, I jumped at the chance to take it.

His pile of dirt, turned out to be about 100 tonnes - 20 tipper truck loads of black goodness.

Just some of the dirt that we received

Last Saturday our trusty bobcat man Craig came over to work his magic.  First he was going to scrape off all the clay mud that we had on the surface, so that we would have a chance for it to dry out


Once all the mud was scraped off using the excavator (so that he didn't get bogged) Craig moved onto the bobcat and started moving all of the dry fill that we had received.


11.5 hours of hard work and our backyard was unrecognisable


Next job turf!!!!

Tuesday, August 6, 2013

Screening Out The Neighbours

The neighbours on our left hand side are pretty close.  OK, maybe for a normal sized block they are not that close, but when you are on an acre block and you don't have 1.8m fences, they are pretty close.


In summer the tree gives a good screening to their house, but in winter it drops all its leaves and the house becomes a feature that we don't want.


We decided early on that we were going to build some screens to block the neighbours house out, and we would then have the option to take them down once the plants mature.


We had actually dug the holes for the screen posts a couple of months ago, so it was as simple as setting the posts and waiting for them to dry before we could attach the boards.


The posts are 100 x 100 H4 rough sawn posts.  We got them from Bunnings and they were only $14.15 each. They are a bit rough and will be a bit painful to paint, but they are less than half the price of normal 100 x 100 posts.   We bought 10 posts, but could do with two more.  Each post takes 1.5 bags of rapid-set cement.


The first screen is to the left of the alfresco area. It blocks the majority of the neighbours house. In Spring the tree will sprout leaves and we should not see much of the neighbours house.


The second screen blocks off the rest of the neighbours house, plus the washing line.

An internal shot looking from the kitchen window
Blurry dusk photo
The boards of the screen, we used recycled 90 x 19mm treated pine decking boards from the deck in our last house.    The deck in our last house was poorly built (by the previous owners) and before we sold it we replaced the deck with a merbau one, but the treated pine boards that were there were in perfect condition.  All the boards were the same length at 4.5 metres.  So we took all the nails out of them and stored them hoping that we would be able to use them again.   To be able to use them on the screens has saved heaps of money.  They are currently stained a ready/brown colour which we don't want. They will be painted Woodland Grey. The total cost of these screens has been $260.00 plus the cost of the paint.  If we had to purchase the decking boards, you are looking at another $400.00 in wood.

There is currently a gap between the two screens, which we will fill with a different type of screen and then plant out in front of all the screens.   I will show you want they look like after they are painted and planted.

Sunday, August 4, 2013

Meet Our New Girls

Back in March we constructed our new Chicken pen.   Our chickens have been loving it and so far we have not had any attacks from predators.

I have been wanting to get some more chickens for awhile, but Mat wanted me to wait until we moved into the house.  Luckily I waited, or we wouldn't have had the room for the girls.

On Friday I received a call from NSW Hen Rescue. I had previously put my name down to take four ex-battery hens. The original four hens were adopted by someone else. I was asked if I still wanted to adopt some ex-battery hens as they were going to a battery farm that night and rescuing them.  Of course I would take them, how could I not.

Yesterday morning, we adapted the pen a little bit and I went a bought some new food that the chickens could eat (they cannot not eat normal layer pellets as most of them have had their beaks cut) and I drove 30 mins to meet one of the rescuers.

My girls are four of the fourteen that were rescued from slaughter on Friday night.  They are  between one and two years old.

We have named them Rosie, Daisy, Ruby and Gracie.


Their condition, it brings me to tears.  I was prepared as I had seen pictures that they would have feathers missing and would look pretty rough.  Seeing a part bald chicken is a shock.  Prior to reading about the plight of battery hens, I thought I was doing my part by not buying caged eggs. Sadly it requires a lot more than that.

Rosie the chicken, she is the most traumatised by what has happened. She seeks comfort behind the wire of the coop, and rarely ventures out into the chicken pen.  When she does, it is crouched down, and she will schooch along, knees bent occasionally having a roll in the dirt.  She has also fared the worst from her life in a cage and is missing most of the feathers from her front.


The question that most people have asked me when I have told them that we are getting ex-battery hens is whether they will still lay eggs or not.  Truely, it would not bother me if they never laid another egg as long as they lived. I took them so they could have a better life - actually so they could have a life.   However, despite not expecting eggs - each of the girls have laid an egg today.

So there you go.  Hopefully over the coming weeks, with good food, lots of water and sunshine and a big coop to run around in they will start looking a lot better.


Friday, August 2, 2013

Splashback!!!

We finally have a splashback!!!!

I am excited that I no longer have to look at a hole in the wall or unfinished gyprock after three weeks of living in the house we finally have a splashback.

This is what the last one looked like


Yuck!!!!

This is what the new one looks like


The colour is Taubmans big white with a handful of glitter thrown in. It does shimmer at night, but not as sparkly as the other one.

OK - so it is not going to set the world on fire, but with it being the same colour as the walls, you really only notice the window.


Thursday, August 1, 2013

Wall Repaired - Check!

When the original splashback was removed and I saw the eventual damage to the kitchen wall I was horrified.


I was assured that it would be an easy fix, but I was not too sure. Yesterday, the wall was repaired and the gyprocker said that it would be very quick and easy to fix. I should learn to listen to the experts.


The wall is fixed except it needs a little bit of sanding and painting on the right hand side of where the splashback extends to, but it is good enough for the splashback to be installed today.