Wednesday, May 29, 2013

Day 210 - Sourcing

While the tilers are tiling and there is not too much progress to show, I thought I would show you what we have been doing.

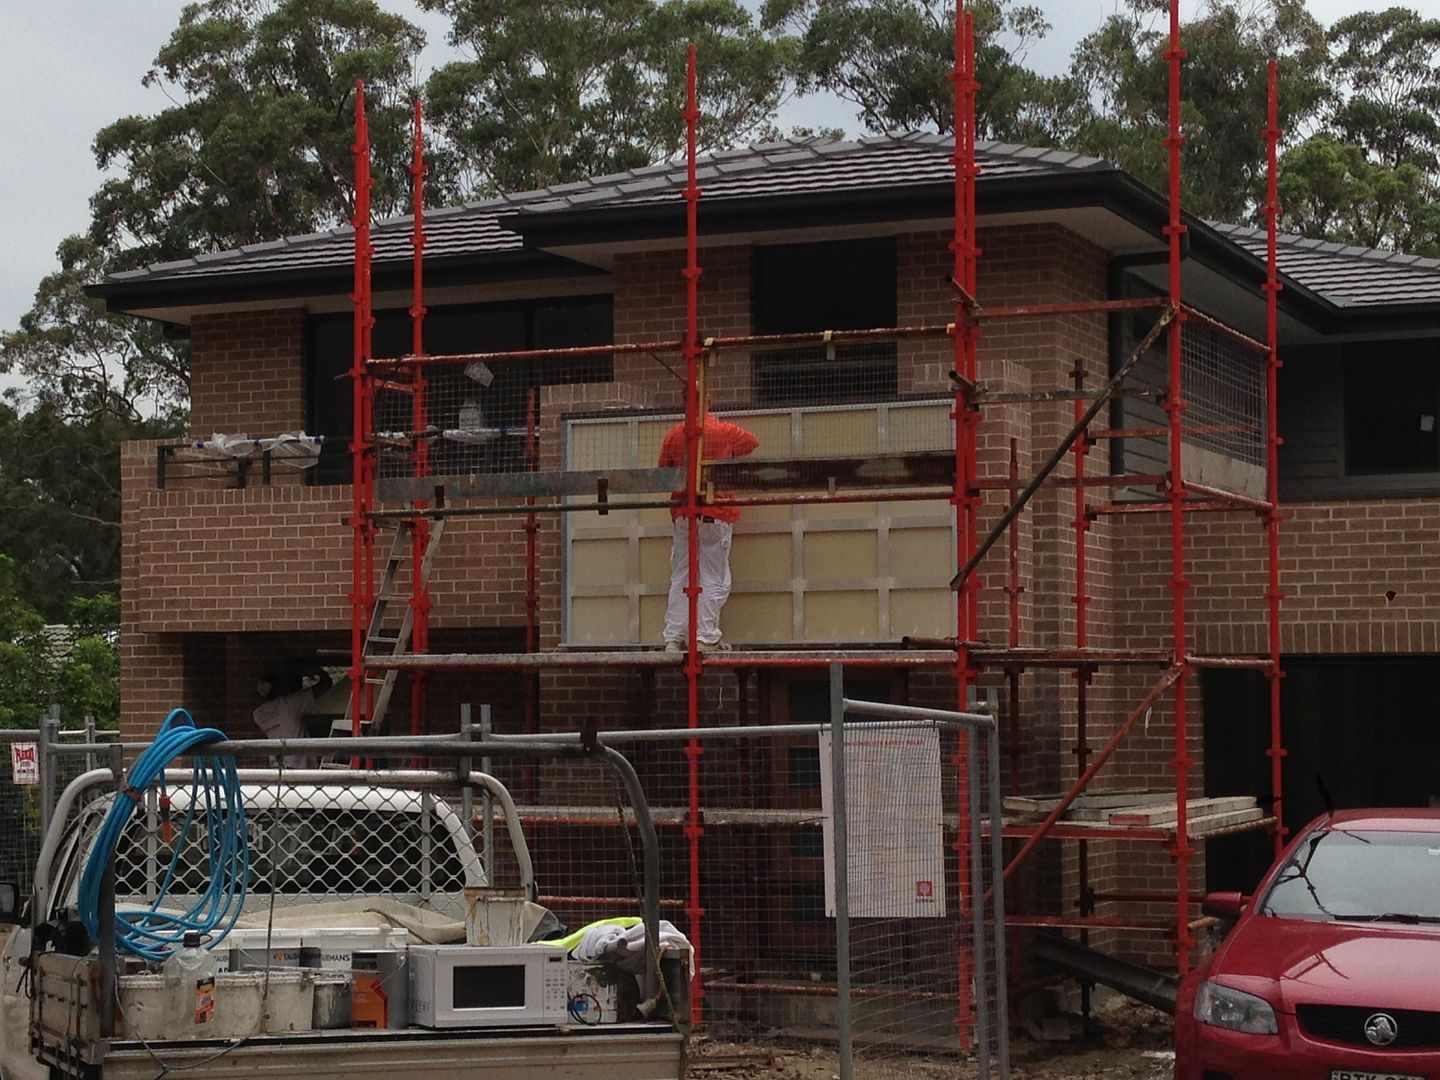
The weather the last week has been rubbish, so nothing has happened outside.  To say it is a bog pit is an understatement.  We desperately need downpipes connected, as at the moment, we have the whole roof load of rain draining around the outside of the house.  Hopefully they will be connected soon.

So while we can't do anything outside, we have been sourcing things for inside.

Carpet has been chosen and deposit paid.  We need 41 lm of carpet at a cost of over $5,000.  We have chosen a solution dyed nylon carpet and we got it for a great price.  We had solution dyed nylon in our last house and it is bullet proof.  Apparently you can clean it with bleach, but I never tested it out.

The carpet is Awana Bay Onyx  - do you think this colour will hide kiddy dirt?????


We have been told that the carpet will take two days to install, so that is the first thing that is going in.

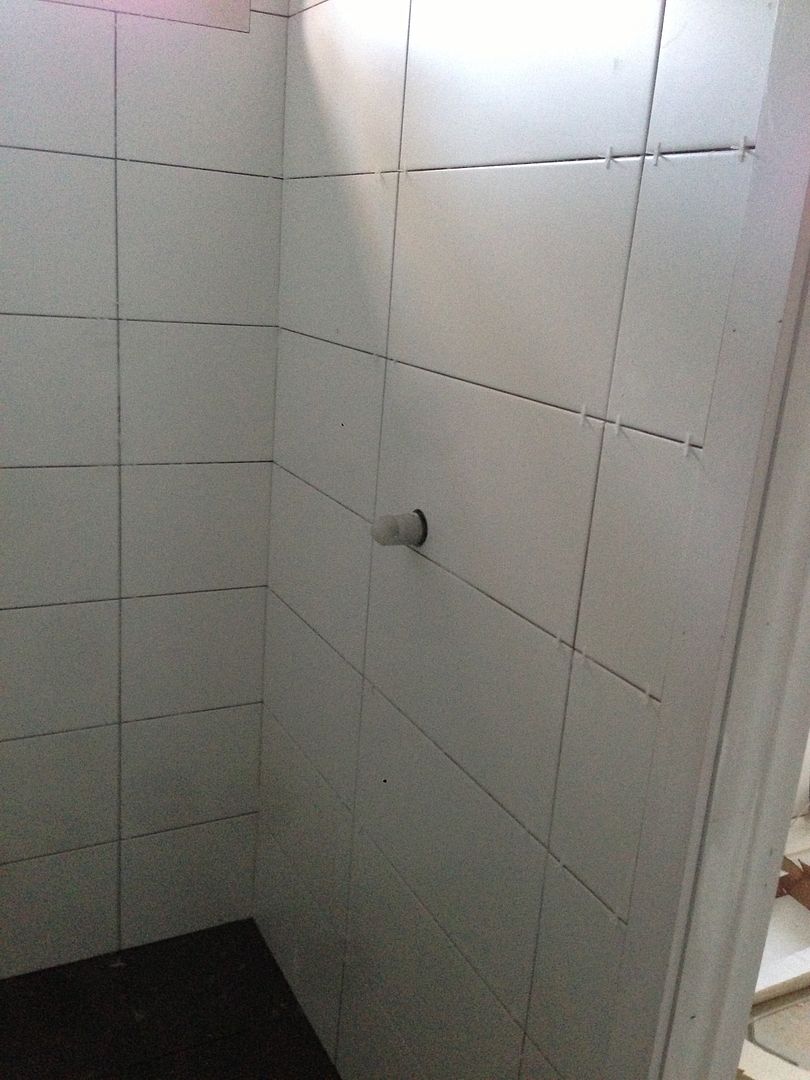
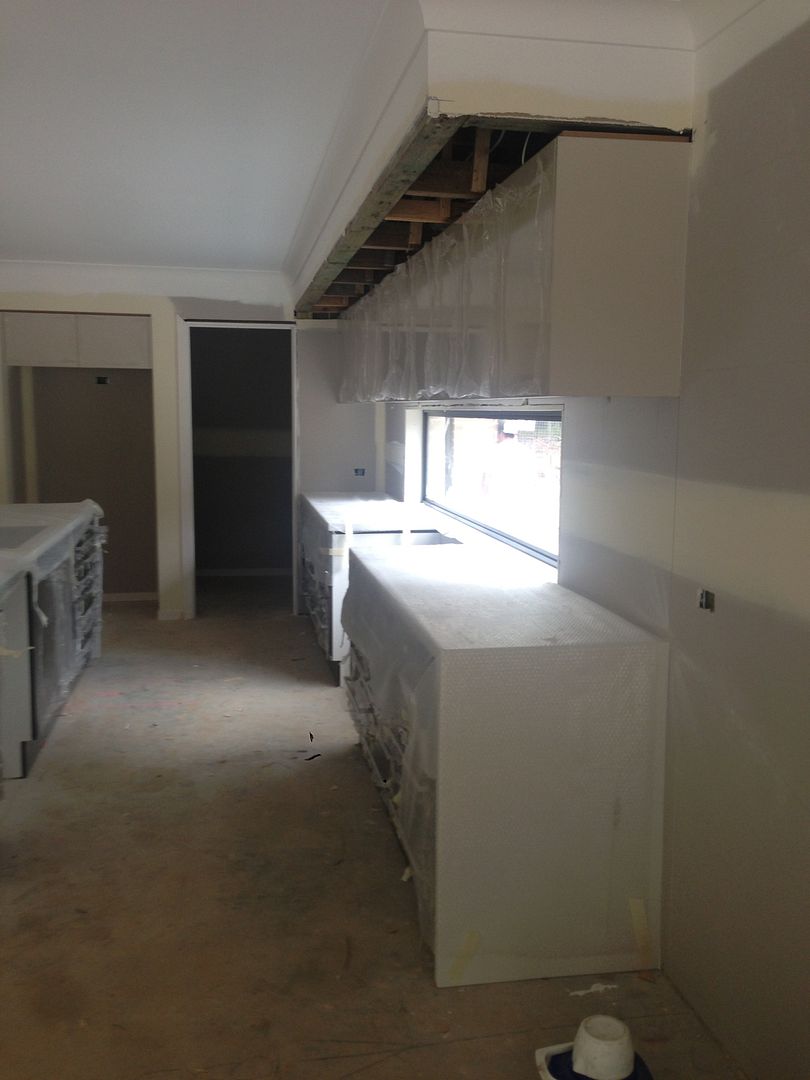
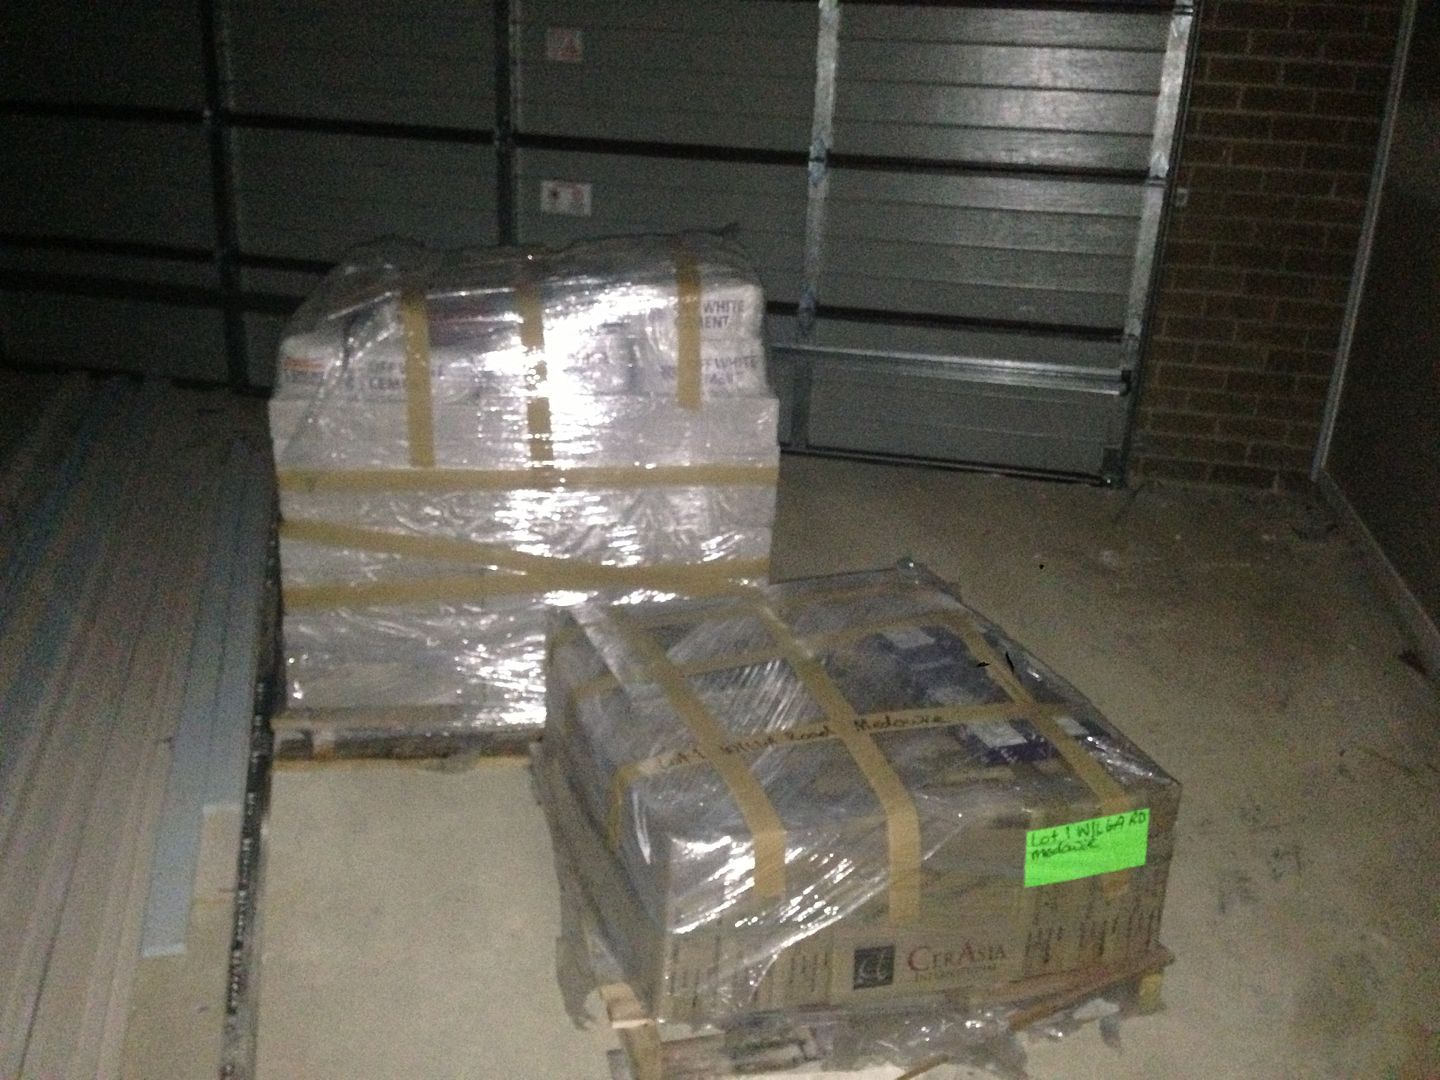
The tiles, they are 600 x 600 porcelain - called 'super white'. We bought these tiles in September last year from CTM and they have graciously been storing them until we need them


They are a bit lighter than the tiles that we had in our old house, but will look similar.


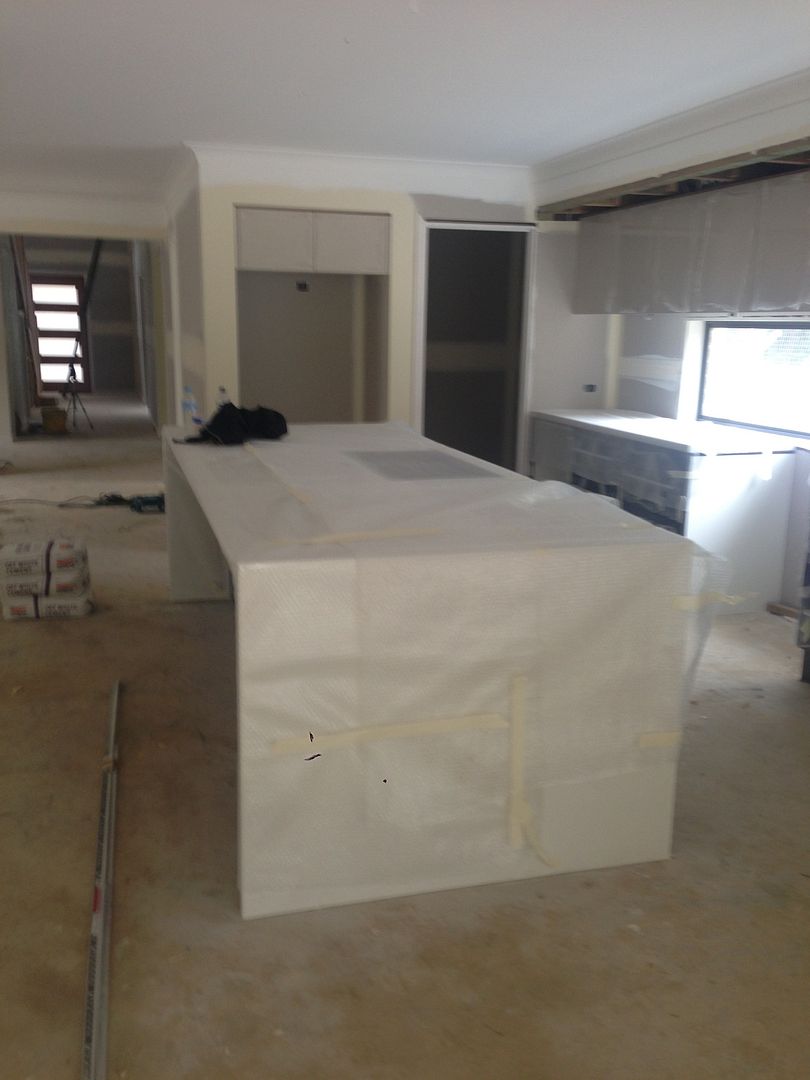
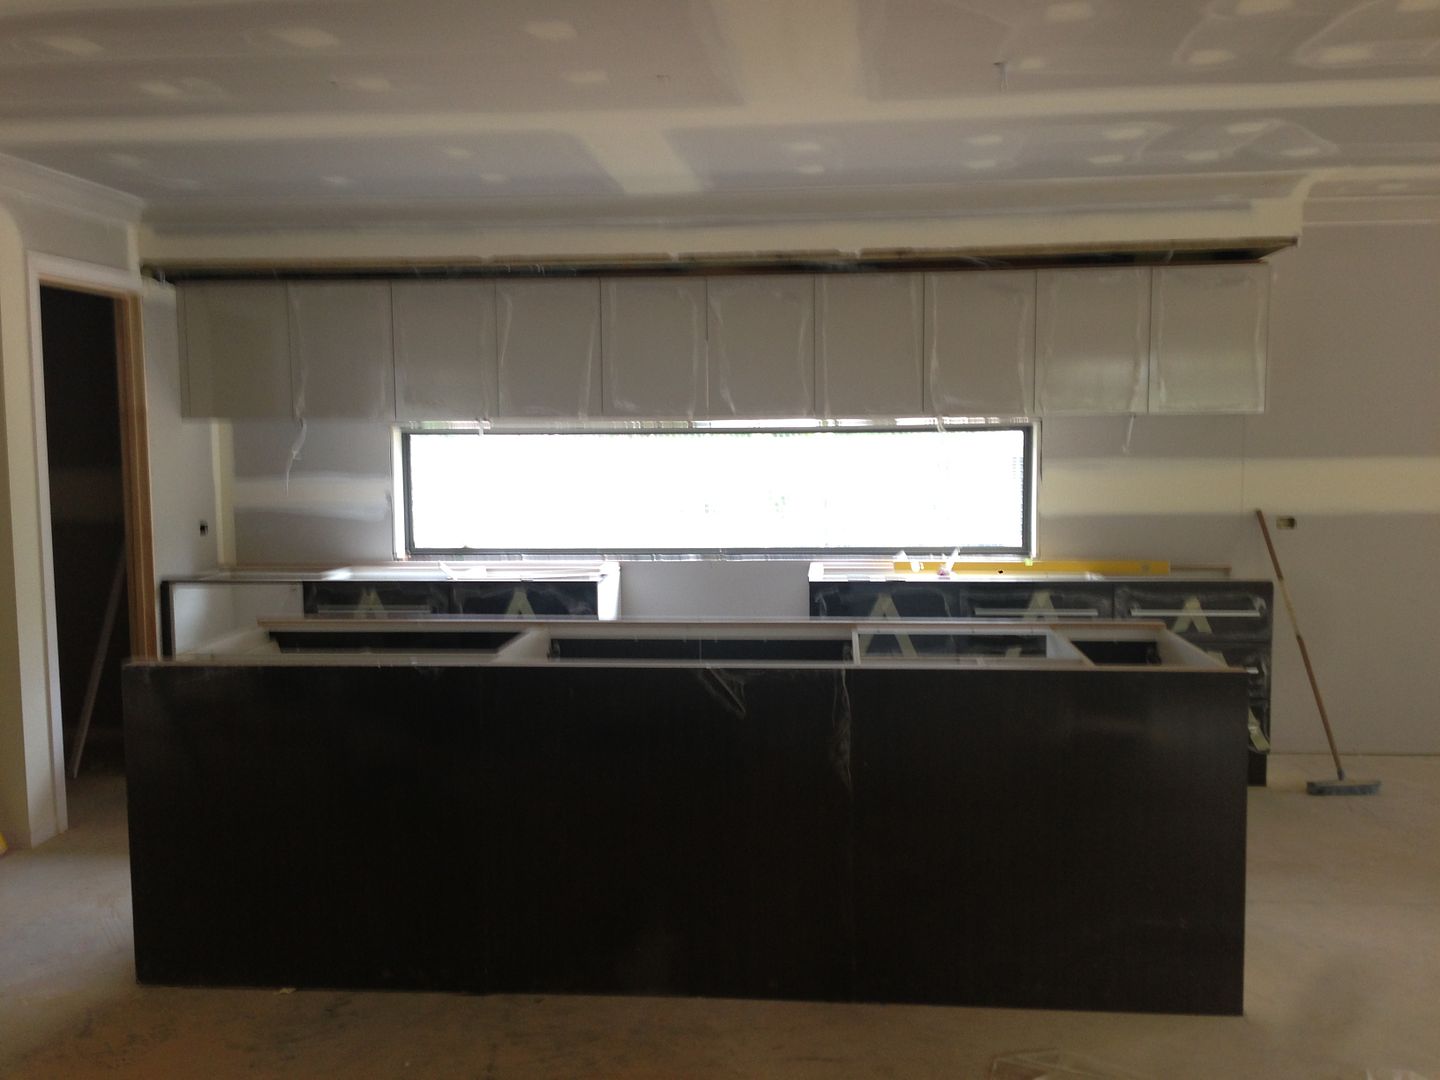
As you can see from the picture above, we already have bar stools, but I thought that they might look a bit naff now that they have been stored for more than a year, so  I bought some new ones.


Cost of the stools - $61.00 for four of them on Ebay.  Bargain or what!

We needed a new lounge for the upstairs tv area and didn't want to spend massive amounts as I don't think the kids will use the area that much. The sofa is from Freedom and called the 'Harry' - is that a sign???


When we went into Freedom on Saturday they had 20% off if you were an NRMA member. We are not members (as Mat is a mechanic and I hope we would not have to call NRMA), but I asked if we bought the sofa as shown in the above picture could we get 20% off.   Of course we were told. So we have a 3 seater and a 2 seater for $1,200.00 including delivery.  Now I have to find a rug to go with it - as I love the display in the shop.

Finally, the last of my purchases for the time being. We don't have the money at the moment to properly fit out the walk in wardrobes.  In our last house the wardrobes only had the hanging shelf, but no shelves or other storage.  We got away with fitting them out with Ikea Expedit units - they work really well and we will do the same thing in the new house.   During an eBay search I found this for $120.00


One expedit unit that is 4 x 4 cubes - this retails for $139.00 at Ikea and a 2 x 4 cube unit which retails for $89.00.  Add in the drawers and doors that come with this unit, it is worth $330.00 - so a bargain at $120.00 and it is in the same suburb as my parents. The 4 x 4 cube unit we will use to fit out our WIR and the other one will go into one of the kids rooms.

So there you have it - a little bit of thrifty purchasing.


Monday, May 27, 2013

Day 208 - Tiling

The tilers started on Wednesday and they have worked everyday since then, including both Saturday and Sunday.

The first day and a half was spent screeding the floor and building the bath surrounds.


Tiling has started - this is the bit that I find interesting, when the tiles we chose six months ago, finally come together.
Main bedroom ensuite

Main bedroom ensuite shower

Powder room

Powder room with the skirting tile laid

Kids bathroom shower
Kids bathroom toilet

5th bedroom ensuite shower

The feature tile is still to go in to the the shower niches and above each of the vanities, which will be laid horizontal.
  

Some details for you on the tiles.

They are 300 x 300 matte finish in a charcoal grey. I can find out the exact colour of the tile if you are interested.  The cost of these tiles were an additional $7.00/m2 above the $27.50m2 allowance that Rawson gives.  Rawson allows 300mm tiles as standard, so there was no laying charge there.  

The wall tiles are 250 x 500 in matte white.  We were going to originally go with 300 x 600, but in order to get a matte tile we would have had to pay to upgrade the tiles as there is not a 300 x 600 in matte white in the allowance.  We went with this tile as it was standard.

We did pay extra for the square drain covers (as seen in the powder room) I think these were only about $7 or $8 extra each. We were going to go with the concealed drain covers, but these were $80.00 each, and we needed 8, so we opted to save $640.00.

We also paid extra to have chrome angle for the external corners of the tiles.  They are a bit hard to see at the moment, but will show them more when the tiling is finished.  I think these were about $50.00 extra for all the bathrooms - don't quote me on that, I haven't looked at my invoice for six months.

Our largest expense was the feature tile.  This tile is 150 x 75, and we needed quite a few sheets of these. Total cost for the feature tile in all the bathrooms including the powder room was about $1500.00.


Thursday, May 23, 2013

Day 204 - Painting

Just one picture today.  It was chucking it down today and with the downpipes  not being plumbed in yet, the block was flooding.

The painters are still painting the undercoat.  I am so glad that we did not take up the offer to save some money and do all the painting ourselves - what a massive horrible job it would have been. .


The paint on the walls should not be too much darker than what is already on the walls - do you think we will ever need lights????  It is very bright in there already.


Wednesday, May 22, 2013

Day 203 - Lights. Camera. ACTION!

The last couple of days have been action action action at the house.

Monday the painting started.  They spent the last two days doing the undercoat to the upstairs and the ceilings.  Today they continued the external painting while the weather is good


We were told the stone for the benches and vanities should go in seven working days from when the kitchen was installed. Our SS thought that they should go in sometime this week.   Yesterday, when I arrived at the block after 5:00pm I noticed that there were still people working.  I walked past the skip bin and noticed that there were boxes for the basins in there.  I was hoping that seeing this meant that the benches had been installed.  I wasn't disappointed.


When I saw the benches - it was a take your breath away moment.  I was shocked how good they looked.   I am so glad that we went with the waterfall end on the back wall run of cupboards - it really finishes it off nicely.

I am a little shocked about the width of the island.  It is 1200mm wide, so I knew it was going to be wide.. Our last island was 900mm, so this will take a bit of getting used to, but it is stunning.


Check out my sink.  This is the sink that Mat has been talking about the price of it for the last 8 months. It was expensive, I don't deny that, but it looks so good.   It is a Clark Razor sink and it is an undermount sink.  I did not want an undermount sink as I did not want to pay the additional cost for polishing the stone.  Total cost of the sink including the polishing was $1,250.00! Expensive, but I am glad we went with it, as it is lovely.

Vanity tops are also in.  They are better than I thought they were going to be.

Ensuite

5th bedroom ensuite
The tiles and baths had also been delivered, ready for the tilers to start today.


Monday, May 20, 2013

Day 201 - Gabions

I love gabion walls. I have loved them for a long time and wanted to incorporate them into our house.


Originally the driveway was a lot narrower, and I was going to continue the gabions up the driveway,  but as the driveway is now a lot flatter (and a lot wider) than it was originally, we have decided to only have the gabions as a feature for the front gates (which will eventually be replaced with an electric sliding gate)

I had a bit of trouble sourcing gabion baskets when I started looking last year so I thought I would pass on all the information that I have since found out.

From what I have found, gabion baskets can be made from a range of materials.  The ones we bought are 4.5mm welded mesh, but they they can also be made out chicken wire (thicker than normal chicken wire I am sure)

Thankfully I found a gabion place on Ebay that was only just setting up.  David is the owner and he is very helpful and he responds to any questions with lightening speed.  He has prices on his website of any size gabion cage you could want.  If the size you need isnt there, he will give you a price pretty quickly.


I placed the order with Gabion1 on Tuesday and they were ready to be picked up Friday.  Another thing that I found handy with Gabion1 - he has made quite a lot of videos which are on YouTube of how to put them together and ideas on what to fill them with.


Our gabion baskets are 1200x1200x450mm and they are made out of 4.5mm mesh.  You can buy 3.0mm mesh from Gabion1 for half the price, but I thought seeing that they were going to be a stand alone basket I wanted the strongest mesh that I could get. The cost of our gabion baskets were $124.90 each.

The baskets come flat and you need to put them together. It is very easy and quick to do as per the video


We were originally going to fill them with river stones at the cost of $170m3, but thankfully the man at the landscape supply place suggested crushed concrete, which was only $68m3

As our gabion baskets were 1200x1200x450mm they should use about 0.68m3 of stone to fill.   As we thought we were filling with expensive stone, we decided to fill the inside of the basket with bricks first and them fill the outside with stone.   We had spare bricks from the house, and it would save some money.


The easiest way we found to fill them was to put in the bricks and then shovel in the crushed concrete. The holes in the mesh are 75mm wide, so you will get some rocks fall out.  Dont worry about this as all the rocks wont fall out and the ones that do you can put back in.


Keep filling with bricks and rocks until you get to the top and then you can secure the lid on the basket.


Even though the middle of our gabion basket is filled with bricks, we still managed to use 0.5m3 per basket - so they use more or the landscape supply store's bucket is not 0.5m3. In any case they were only $34.00 each to fill.

We have decided with ours that one side will be the letterbox with the numbers and the other side will be left as it is.

The letterbox, bought it off Ebay - cost $51.00 and the numbers are are on their way, at the cost of $97.00.


Now I am dreaming of gabion retaining walls - a lot more expensive than a treated pine retaining wall, but they look so good.


Friday, May 17, 2013

Day 198 - Door Handle

Apart from the kitchen it has been a bit of a slow week at the house.

The plasterers didn't come back yesterday, but apparently they will be back on Tuesday.

The painters were pulled off our job to do some maintenance on another job, but unless something drastic happens they will be there on Monday and hopefully will stay until all the painting is complete

The carpenter has not finished the bits that are needed for the plasterers to complete the bulkhead in the kitchen, but he did do one noticeable job yesterday


He installed the door handle!!!!

The door handle was a $340.00 upgrade and it is worth the money, I love the look of it and what makes it even better, it is mother-in-law proof


Wednesday, May 15, 2013

Day 196 - Baby Steps

Firstly I want to thank everyone for following along with my blog and the lovely comments that people have left regarding the kitchen and my blog. I try to reply to comments where they allow reply by email. For those who haven't received a reply, if you turn on replies via email on your profile I will be able to answer any questions you have asked.

I have had 25,000 page hits on this blog since it started less than a year ago, so I am quite chuffed that so many people have shown interest in our build.

We are making small little steps every day in order to get the build complete.  Yesterday I didn't think that anything was supposed to happen, so it was a bit of a surprise when the water tank was installed.


It is a 3,500 litre colorbond slimline tank.  In our last house we had a larger tank, but round and plastic. Even though this tank looks quite small, I am loving it being slimline.


Tuesday, May 14, 2013

Day 195 - The Kitchen has Landed

Get ready for picture overload!!!!

Yesterday my kitchen was finally installed.   There was a little blessing in having to sit with Ella at the hospital for over two hours yesterday and that was I got a sneak peak of the kitchen at lunchtime.

I was so excited on my way to the house yesterday. I knew the kitchen people were there, so there was no way I could be disappointed, and believe me I was not disappointed.


This kitchen is not standard, but we really have not paid that much to upgrade it either.  I thought I would go through the details again.

The upper cupboards are Polytec Malt.  I was a little worried that these would be more brown than grey, but when I saw them yesterday my fears melted away and they are the perfect grey colour.   The cost to have two colours in the kitchen was $350.00.

The lower cupboards are Polytec Truffle Lini.  It is the same colour as Laminex's Licorice Linea.  All of the cupboards are in the sheen finish in lieu of the standard matte finish.  Total cost here $670.00

I didnt want to have any cupboards at all, but didnt think that I could get away with not having any, so we have two cupboards, one for under the sink and the other one for a pull out bin.  Cost to put in 5 sets of pot drawers $1,250.00 or $250.00 per bank.

All of the doors and drawers are soft close Hettich brand - cost of the FREE FREE FREE - it is a Rawson standard.

The handles, they were not cheap.  They are Hettich brand again and in order for them to be big enough for the drawer size they were nearly $50.00 per handle. Total upgrade cost here $750.00

The cutlery drawers - I have a problem at home that my cutlery drawer is ALWAYS overflowing.  It always spills into the second drawer and beyond.  I wanted to avoid that this time and make the drawer wider. I was going to go for 800-900mm wide and then I went to one of the Rawson show homes and found a set of drawers that were 950mm wide.   We requested our cutlery drawers to be the same size.


Cost to upgrade to this sized drawers - $200.00 and that includes the cutlery insert.  I thought this was a bargain and I was happy to pay that price.  Look at my big drawer


The only thing that is missing is the cutlery tray insert.  I think they have made a mistake as the cutlery tray insert has been put in one of the smaller drawers - not what I wanted.


I spoke with my SS today and he does not think that they can do a cutlery insert that wide, but I have told him that we were told that we could have one that large at our colour appointment and there is one in the show home - see below


The SS is going to get on the case and get one supplied from the kitchen company.

The island bench.  We have made it longer so that it is exactly 3.0 metres long (the length of one piece of stone) and we have widened it.  The width of the standard Rawson island is 810mm. Our is now 1200mm wide.  We still have a 330mm overhang, so the island cupboards had to be 870mm wide instead of the normal 600mm.


As you can see. The dishwasher space and the 950mm drawers have a false back so they done reach the full 870mm, but they have left the full depth on the cupboard under the sink and the thinner cupboard that will house the bin.

So what do you think of my kitchen????   I think it is stunning and better than I could have pictured. I am looking forward to the stone being installed as that will really finish it off.

The vanities were also installed yesterday.  They are the same colour as the lower kitchen cupboards, but they are in the matte finish and not the sheen.

Powder Room

5th Bedroom Ensuite

Main Bathroom
Ensuite
We just need the stone tops for the vanities and the kitchen and they will look a lot better. 

We will have the carpenters back tomorrow finishing off the bulkhead above the upper kitchen cupboards. The plasterers will be back Thursday finishing off under the stairs and in the void area.  Painting is supposed to start Friday.  Keep everything crossed that it happens.